Custom Chart
The Custom Chart component allows users to integrate their custom charts to the ChartFactor ecosystem as microservices. Custom charts can be implemented using any technology or framework.
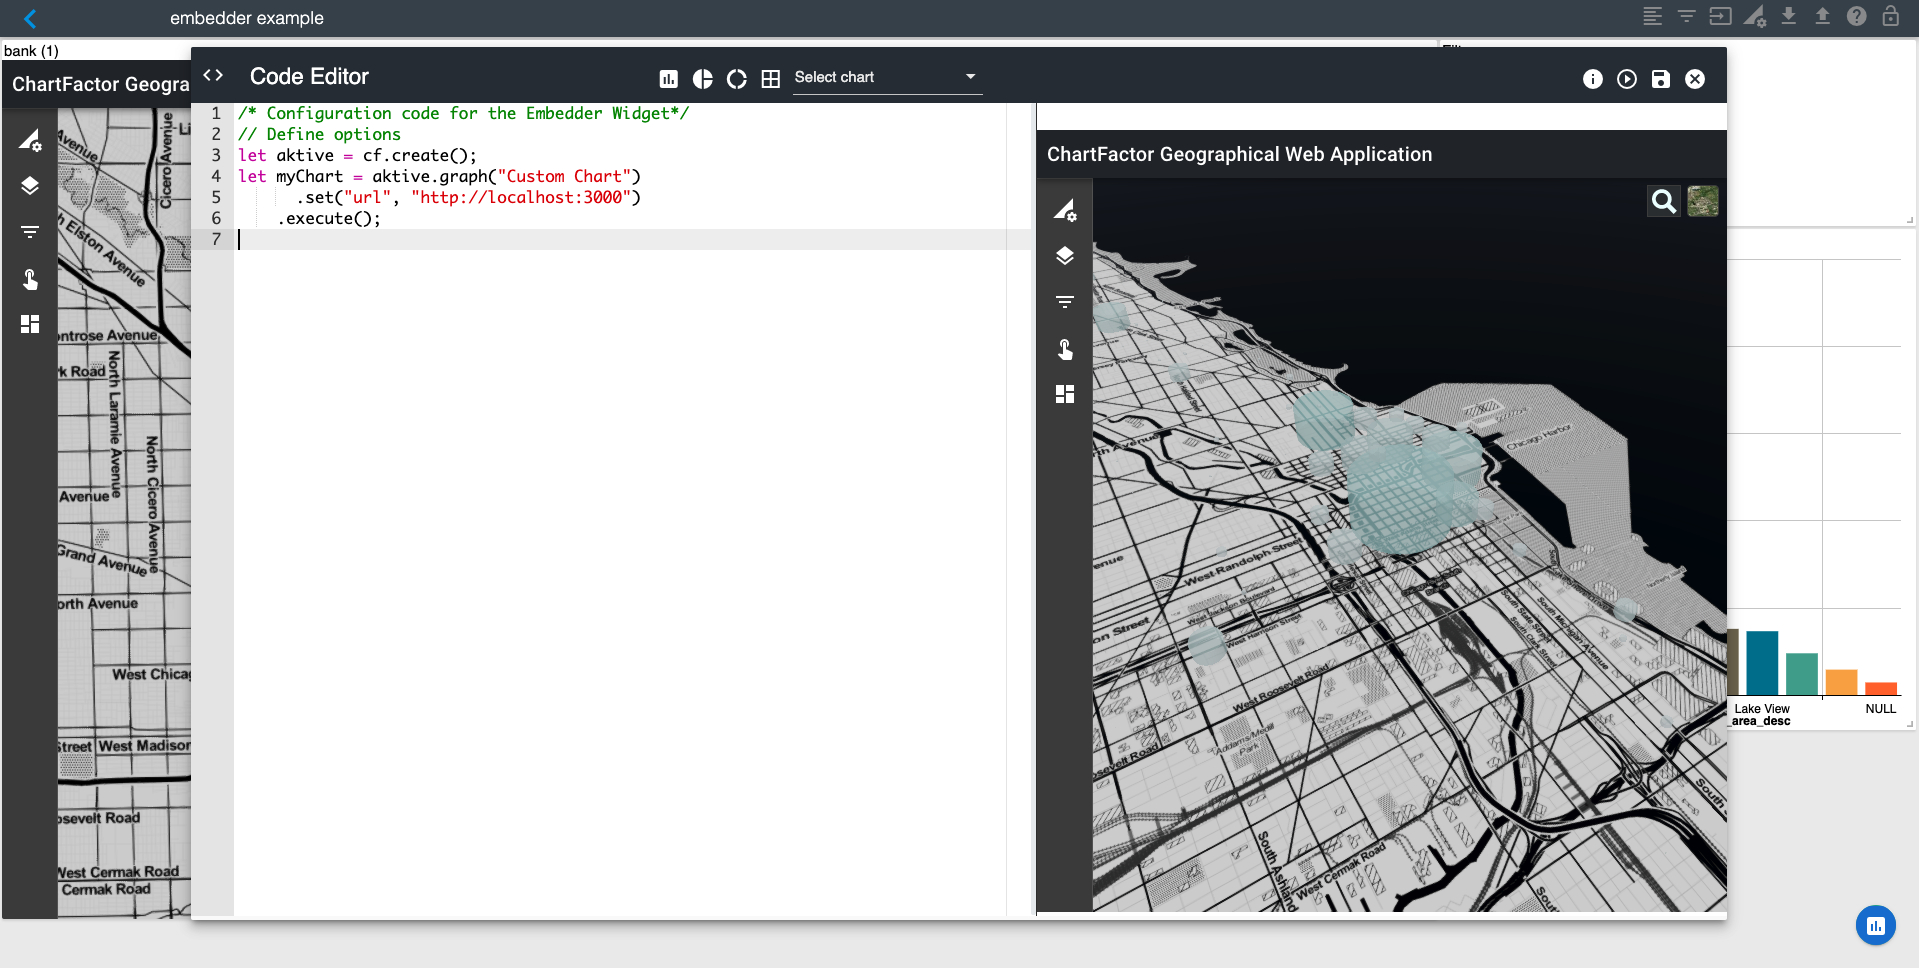
The simplest Custom Chart can be obtained using the following code:
1 2 3 4 | |
The previous code embeds a web application running on localhost port 3000. The following image shows a custom chart example within ChartFactor Studio:
Implementing two-way interactions in your custom chart
Two-way interaction means that:
- Your custom chart is notified when users perform actions on other ChartFactor Toolkit visualizations within your application. This allows your custom chart to react in a specific way.
- Other ChartFactor Toolkit visualizations are notified when users perform an action on your custom chart. This allows them to react appropriately, by drilling-down for example.
The pre-requisite to enable interactivity is to have the Interaction Manager component in your application. The way for your custom chart to share information with the Interaction Manager is through the postMessage method.
Receiving Interaction Manager filter notifications
In order for your custom chart to receive Interaction Manager filter notifications, you need to register a handler function as shown below:
1 | |
Your event handler receives an "event" object. You need to check that the event object contains a data attribute with a stringified object containing a config object with the filters array. Example:
1 2 3 4 5 6 7 8 9 10 11 12 13 14 15 16 | |
Sending filter notifications to the Interaction Manager
To send a filter notification to the Interaction Manager you need to define filter objects as shown below:
1 2 3 4 5 6 | |
Refer to filter operations for supported "operation" options. Also, you can specify multiple field values in the "value" key to implement multi-select filters. Then, you can post the message to the window object that containts the Interaction Manager as shown below. Note that you can send multiple filter objects in the array.
1 2 3 4 5 6 | |
Simplified single-click notifications
Custom Charts also supports a simplified API to send single-click filter notifications. With this simplified API, you just need to create groups and values for the filters that you want to send, taking into account that there is a one-one relation between group (e.g. field) and value. Example:
1 2 3 4 5 6 7 8 9 10 | |
Then you can post the message to the window object that contains the Interaction Manager in the following way:
1 | |